Tue Sep 01 2026 00:00:00 GMT+0000 (Coordinated Universal Time)
Helical Pier Installation Process: What Happens on Install Day
Helical pier installation process step by step: how long it takes, what the crew needs from your yard, and what landscaping looks like after. Free match.
The helical pier installation process goes like this. A crew digs a hole at each pier spot down to the bottom of your footing, bolts a steel bracket to it, screws a helical pier into the ground next to it until the torque gauge says it's in firm soil, then uses hydraulic jacks to lift or lock the footing onto the pier. They backfill, clean up, and leave. Most jobs take one to three days. You can usually stay in the house the whole time.
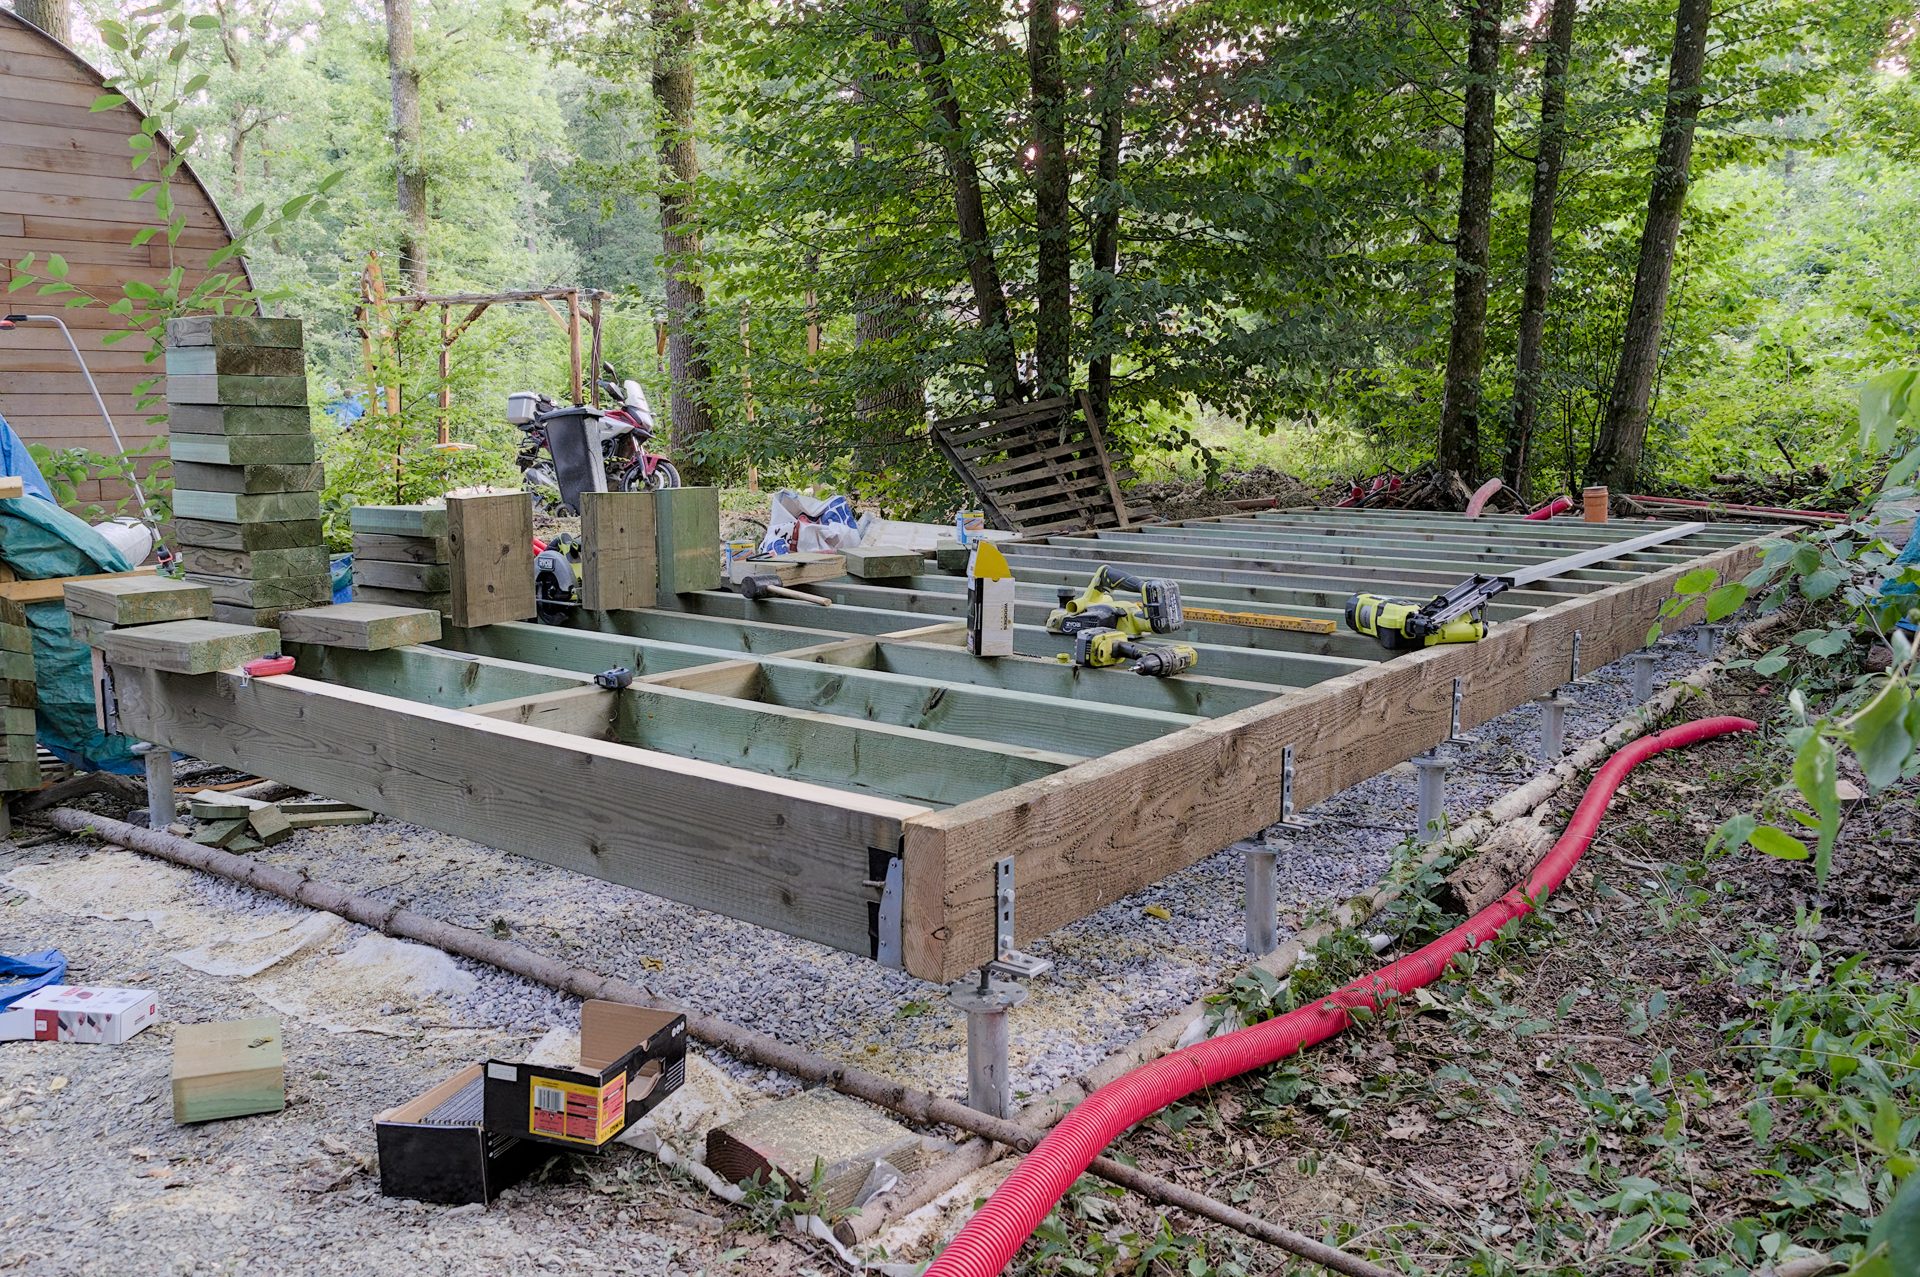
Trougnouf (Benoit Brummer) / Wikimedia Commons, CC BY 4.0
That's the whole thing at 30,000 feet. The rest of this post is what the crew needs from you before they show up, what each step actually looks like, how long it takes, what your yard looks like after, and what to expect in the weeks that follow.
Quick note on who we are. Helical Pier Installation Directory is a matching service. You tell us what's going on with your foundation, we introduce you to a vetted local pier contractor, and they inspect, quote, and do the work. Free for homeowners. You can request a foundation match whenever you're ready.
Before install day: what the crew needs from you
The smoother you make access, the faster and cheaper the job goes. Do these in the week before.
- Clear the pier spots. The contractor's pier layout shows where each hole goes. Move planters, hoses, grills, furniture, firewood, anything within about 5 feet of each spot.
- Open up the path. The crew has to get equipment and pipe sections from the truck to the pier spots. That means gates unlocked, cars moved, and a clear route. If your gate is under 36 inches wide, tell them ahead of time. Smaller drive heads exist and they'll plan for it.
- Mark your sprinklers. Flag every head and, if you know them, the line routes near the pier spots. Sprinkler lines get hit on a lot of jobs. Flagging saves you a repair bill.
- Utilities get located. The contractor should call 811 to have gas, electric, and water lines marked before digging. Confirm they did. If you have private lines (a gas line to a pool heater, low-voltage lighting, a septic line) tell them, because 811 only marks the utility company's lines.
- Move stuff inside. For interior piers under a slab, clear the room completely. For exterior piers, move anything fragile off shelves near the affected walls. Lifting shakes things.
- Pets and kids. Keep them inside or away from the work zone. Open holes, hydraulics, and steel pipe.
- Parking. A pier crew usually shows up with a truck and trailer, sometimes a skid steer. Leave the driveway open.
Most contractors send a prep checklist. If yours doesn't, this is it.
The helical pier installation process, step by step
Here's what happens at each pier. A crew of two to four works through the layout, usually several piers at once.
1. Excavate. They dig a hole at the pier spot, roughly 2 to 3 feet square, down to the bottom of the footing. Usually 2 to 4 feet deep. Mini excavator or skid steer where there's room. Shovels where there isn't. This is the messiest step.
2. Prep the footing. They clean off the footing and often notch or chip it so the bracket sits flush under it. Sometimes they drill and epoxy anchors into the footing.
3. Set the bracket. A steel bracket goes under the footing. This is what the house will sit on once the pier is in.
4. Drive the pier. A hydraulic drive head, mounted on the excavator or hand-held for tight spots, spins the first pier section into the ground right next to the bracket. The helix plates pull it down. When one section is in, they bolt on an extension and keep going.
5. Hit torque. The operator watches the torque gauge the whole time. The pier keeps going until it reaches a target torque that matches the load it needs to carry. That number gets written down for every pier. This is the torque-verified part, and it's the reason helical piers work in soil without needing to hit bedrock. If they hit torque at 12 feet, they stop at 12. If it takes 35 feet, they keep adding sections.
6. Connect and load. They cut the pier to height, attach it to the bracket, and set up hydraulic jacks.
7. Lift or lock. If the plan is to stabilize only, they transfer the house load onto the pier and lock it off where it sits. If the plan includes a lift, they jack the footing up slowly, often a fraction of an inch at a time across several piers at once, while someone inside watches cracks and door frames. They lift as far as the house allows without doing damage, then lock off.
8. Backfill. They put the dirt back, tamp it, and rough-grade. Most contractors do basic cleanup. Landscaping is on you (more below).
On a helical job, everything after step 5 is the same as a push pier job. Where the two differ is how the pier gets in the ground and how it's verified. The full comparison is in helical piers vs push piers, and the service pages are helical pier installation and push pier installation.
How long does helical pier installation take?
Faster than most people expect.
| Job size | Typical time | |---|---| | 2 to 5 piers, good access | 1 day | | 6 to 12 piers | 2 to 3 days | | 12+ piers, or interior piers | 3 to 5 days | | Full house lift or bad access | Up to a week |
A good crew can set 4 to 8 exterior piers per day. Things that slow it down: interior piers, hand digging, deep soil that takes a lot of extensions, rain, and hitting something underground that wasn't marked.
Scheduling is usually the longer wait. Busy contractors book out one to three weeks in peak season, longer after a drought or a flood when everyone's phone rings at once.
Interior piers: what's different
Some jobs need piers under the middle of a slab, where you can't reach from outside. Here's how that goes:
- The crew tarps off the room and cuts a square of concrete, usually about 2 by 2 feet, at each pier spot.
- They dig down by hand, hauling dirt out in buckets through your house.
- Pier goes in the same way, using a hand-held drive head.
- After lifting and locking, they backfill and pour new concrete to patch the slab.
- Flooring in that spot has to come up and get replaced. Tile, wood, and carpet all get cut.
Interior piers cost more and take longer per pier because of all that. If a contractor can hit the problem with exterior piers, they usually will. When interior piers are needed, plan on dust, noise, and a flooring repair afterward.
Can I stay in the house?
Yes, in almost every case. Exterior piers are noisy and there's some vibration during lifting, and that's about it. You'll hear the drive head and the excavator, and you may feel the house shift a bit during a lift.
Interior piers are more disruptive. Expect one room to be closed off for a few days with dust and concrete work. Some people leave for the day. Most don't.
Water and power usually stay on. Gas typically stays on unless the gas line runs right through a pier spot, which 811 marking should catch ahead of time.
Will it damage my yard?
Some, yes. Be honest with yourself about this going in.
- Each pier spot gets a hole roughly 2 to 3 feet square. Grass and plants in that spot are gone.
- Equipment tracks. A skid steer or mini excavator leaves ruts across the lawn, especially if the ground is wet. Some crews lay down plywood or mats to spread the weight. Ask.
- Patios, walkways, and decks that sit over a pier spot have to be cut or removed. Sometimes moving the pier a foot avoids this. Ask before they cut.
- Beds and shrubs near the foundation usually get dug up. Small plants can be pulled and replanted. Big established shrubs often don't survive the move.
- Trees. Roots near the foundation get cut. That's often a good thing, since tree roots pulling water out of clay are a common cause of settlement.
Most contractors backfill, tamp, and rough-grade. Very few reseed, re-sod, or replant. If your quote says "cleanup," ask exactly what that means.
Landscaping after piers
Give it a little time. Here's the order that works.
- Wait for the backfill to settle. Freshly filled holes sink an inch or two over the first few weeks, especially after rain. If you re-sod right away you get a dip. Wait two to four weeks, then top off with soil and level it.
- Fix the sprinklers first. Turn the system on and walk every zone. Check the pier spots for cut lines, broken heads, and leaks. Fix these before you plant, since you'll be digging again otherwise.
- Then sod or seed. Sod gives instant coverage. Seed is cheaper and takes longer.
- Replant beds in the pier spots after the soil has settled and been topped off.
- Regrade if needed. This is the moment to make sure the ground slopes away from the house. Water pooling at the foundation is a leading cause of the problem you just paid to fix.
Plan on a few hundred dollars for sod, soil, and sprinkler parts on a typical exterior job. More if a patio or walkway was cut. Get it into the budget up front so it's a line item and not a surprise. Full job pricing is in helical pier cost.
What you get when the crew leaves
Ask for all of this before the truck pulls away:
- Torque logs. One reading per pier showing the final installation torque. This proves each pier reached load-bearing soil.
- As-built pier layout. The drawing, updated with where the piers actually went and how deep.
- Warranty document. Read it that day. Note transfer terms.
- Paid invoice with scope.
- Engineer's completion letter if an engineer was involved.
Keep it all in one folder. That folder is worth real money when you sell.
The weeks after
A few things are normal:
- New hairline cracks in drywall or brick after a lift. The house moved. Finishes that had settled into the crooked position crack when it straightens. Wait a month before patching so everything has stopped moving.
- Doors that stick differently. Doors that stuck before may now swing free. Doors that were fine may rub a little until you adjust the strike plate.
- Small dips at the pier spots as backfill settles. Top them off.
Call the contractor if you see anything bigger than hairline cracks, or any new cracks in areas that weren't part of the job. Most warranties include a follow-up visit. Use it.
In clay markets like the whole Dallas area, keep an eye on the unpiered sections through the next dry season. Piers hold what they're under. The rest of the house is still sitting on the same clay.
FAQ
How long does helical pier installation take?
Most jobs take one to three days. Small exterior jobs with a few piers and good access often finish in a day. Interior piers, tight access, and full house lifts can stretch to a week. Scheduling the crew usually takes longer than the install itself.
Do I need to move out during foundation pier installation?
Almost never. Exterior piers are noisy with some vibration and that's about it. Interior piers close off one room for a few days with dust and concrete work. Water and power normally stay on.
How deep do helical piers go?
As deep as it takes to hit the target torque, which means firm soil that can carry the load. That's often 10 to 30 feet, sometimes more in deep soft soil. The torque reading, and a log of it, is what confirms depth was enough.
Will the crew fix my landscaping?
Usually they backfill and rough-grade only. Reseeding, sod, replanting, and sprinkler repair are typically on the homeowner. Ask what "cleanup" includes before you sign and budget a few hundred dollars for yard repair on a typical job.
Can helical piers be installed in winter or in the rain?
Often yes. Helical piers screw into the ground and don't need concrete to cure, so cold weather is fine. Heavy rain can pause a job because wet soil is hard to dig and equipment tears up the yard. Frozen ground slows digging but is usually workable.
What if they hit a sprinkler line, gas line, or pipe?
Sprinkler lines get hit often and are cheap to fix, which is why you flag them ahead of time. Utility lines should be marked by 811 before any digging. Private lines (pool gas, low-voltage lighting, septic) are your job to point out. Ask the contractor who pays for repairs if something unmarked gets hit.
Do I need a permit for helical pier installation?
Depends on your city. Many require one for structural foundation work, and some want an engineer's letter with it. The contractor usually pulls the permit and includes the fee in the quote. Ask, because an unpermitted structural job can come up on a home sale.
Ready to get a crew on the calendar?
Now you know what the day looks like: some digging, a torque gauge, hydraulic jacks, and a folder of paperwork at the end. The part that matters most is the pier count and the plan, and that comes from an inspection.
Request a foundation match and we'll introduce you to a vetted local helical pier contractor. They'll inspect, hand you a pier layout and a quote, and walk you through the install day plan for your yard. Free for you, no obligation.
One thing worth doing before the crew arrives: take photos of every wall, floor, and door in the house. Dated, with the cracks that already exist. If a lift causes new cracks, you'll know exactly which ones are new and the contractor will too. That five minutes prevents most of the "was that there before" arguments.